Build a Web App with Nuxt 3 and Turso: Querying Data
Introduction
In our previous tutorial, we learned how to create a new Nuxt 3 project and connect it to Turso. In this tutorial, we will learn how to query data from Turso using libSQL.
Setting up a server API route in Nuxt
To get started, let's create a new server API route in our Nuxt project. Create a new file in the server/api directory called posts.get.ts:
touch server/api/posts.get.ts
This will be our server route for querying all posts from the posts table in our Turso database.
Next, open the posts.get.ts file in your code editor and add the following:
import { createClient } from '@libsql/client'

interface Post {
  id: number
  title: string
  body: string
  created: string
  author: string
}

const tursoConfig = useRuntimeConfig().turso
const db = createClient(tursoConfig)

export default defineEventHandler(async () => {
  const query = await db.execute(
    'SELECT id, title, body, created, author FROM posts',
  )

  const posts = query.rows as unknown as Post[]
  return posts
})
In this tutorial, we're going to create a blog. So we define our Post interface with the following properties:
- id: number
- title: string
- body: string
- created: string
- author: string
But before we can query our database, we need to create a table in Turso.
There are a few ways to do this, but for this tutorial, we're going to use the Turso CLI. If you haven't already, install the Turso CLI by running the following command:
curl -sSfL https://get.tur.so/install.sh | bash
Once authenticated and you have created a database (check our previous article for help), run the following command to create a new table called posts:
CREATE TABLE posts (id INTEGER PRIMARY KEY, title TEXT NOT NULL, body TEXT NOT NULL, author TEXT NOT NULL, created DATETIME NOT NULL DEFAULT CURRENT_TIMESTAMP);
Now, let's add a post to our table:
INSERT INTO posts (title, body, author) VALUES ('Hello World', 'This is my first post', 'John Doe');
Now that we have a table with a post, lets try querying it from our Nuxt API route.
To start our Nuxt application in development, run the following:
pnpm dev

> nuxt dev

Nuxt 3.7.4 with Nitro 2.6.3
  ➜ Local:    http://localhost:3000/
  ➜ Network:  use --host to expose
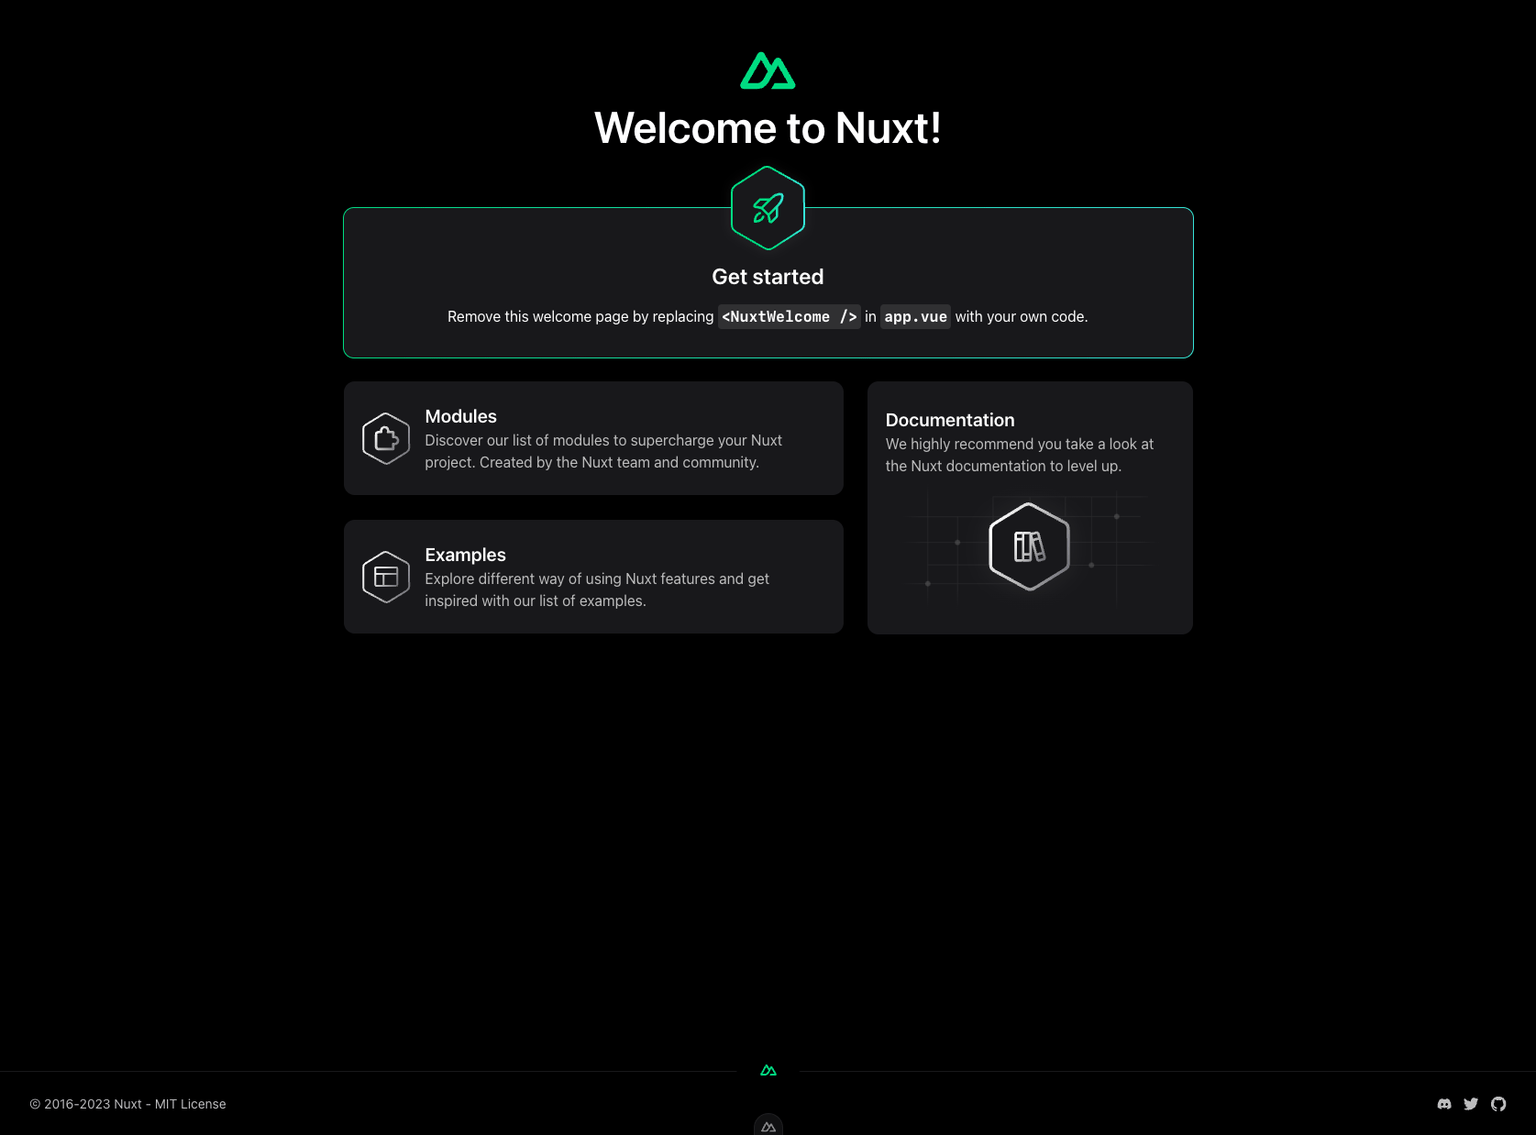
This will start our Nuxt application on localhost, port 3000, so lets go to that URL and see what we get.

So we have the starting page for a new Nuxt project. Lets change that.
Configuring layouts and pages
To get started, let's create a new layout for our blog. Create a new file in the layouts directory called default.vue:
<template>
  <main>
    <slot />
  </main>
</template>
To tell Nuxt to use this layout, open the app.vue file in your code editor and change it to the following:
<template>
  <NuxtLayout>
    <NuxtPage />
  </NuxtLayout>
</template>
Now, let's create a new page for our blog posts. Create a new file in the pages directory called index.vue:
<script setup lang="ts">
</script>

<template>
  <div>
    <h1>My Blog</h1>
    <p>Here are my posts:</p>
  </div>
</template>
Now lets go back to our browser and refresh the page. We should see our new layout and page.

Finally, we're going to query our posts from the Nuxt API route we defined earlier. Open the index.vue file in your code editor and add the following to the script section:
<script setup lang="ts">
const { data } = await useFetch('/api/posts')
</script>

<template>
  <div>
    <h1>My Blog</h1>
    <p>Here are my posts:</p>

    <ul>
      <li v-for="post in data" :key="post.id">
        <h2>{{ post.title }}</h2>
        <p>{{ post.created }}</p>
      </li>
    </ul>
  </div>
</template>
Now, if we go back to our browser and refresh the page, we should see our post title and created date.

That's it for this tutorial. In the next tutorial, we'll learn how to create a new post and save it to our database.
Related posts
- Maintaining Passion and Interest in Software Engineering3:32pm on 01/08/2023This article explores how you can keep your passion and interest alive in software engineering, ensuring a fulfilling and dynamic career.Read more
- Embracing the Utility-First Paradigm: Benefits of Tailwind CSS2:22pm on 19/09/2023In this post, we'll dive into the benefits of using Tailwind CSS and illustrate those advantages with code examples.Read more
- Static Site Generation vs. WordPress: Which Is Best for Your Needs?6:30am on 20/09/2023In this post, we'll break down the benefits of both to help you make an informed decision.Read more